I told my loving wife that if I was going to be replacing the vanity and toilet, might as well do the floor. And remove the wallpaper (that went behind the toilet).
She agreed because she hates the blandness of every room in the house.
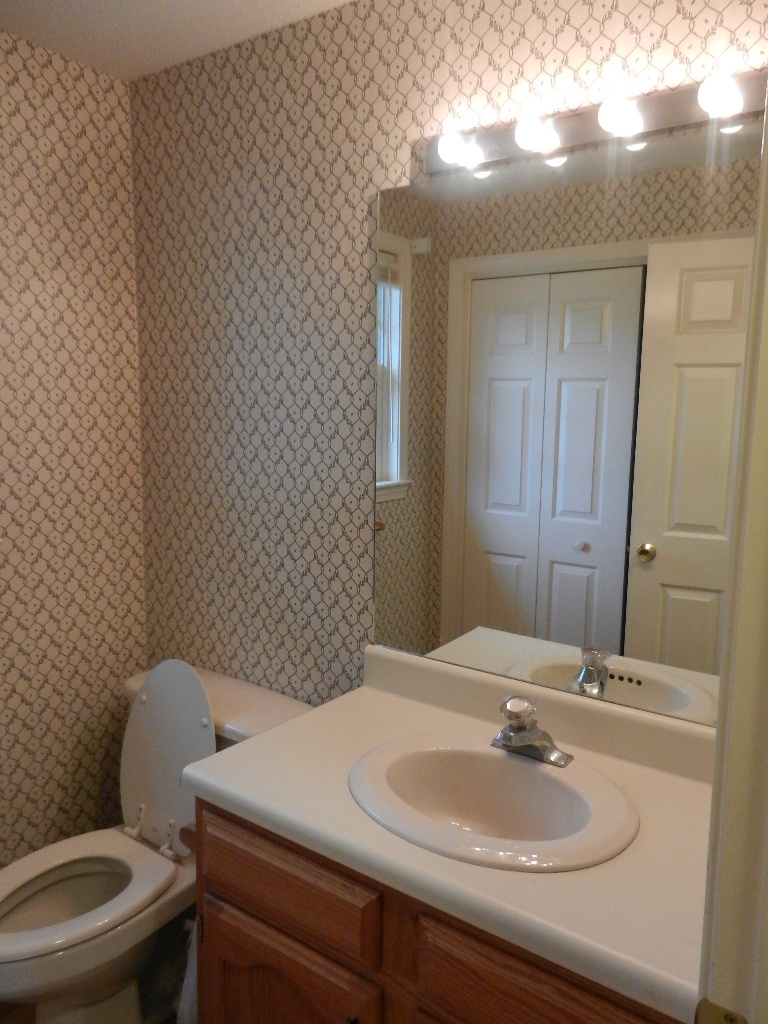
Here are the before pictures.


These are the pictures from during and after wallpaper removal. Notice all of the spots that the paint came with the wallpaper. Which means that I would have to fix those with some joint compound. Pretty much had to skim coat the whole room.


Pictures of Tile Installation and Grouting. We got very lucky. We did a dry run and found out our back wall was actually straight. We were able to use it as our straight edge! We ended the last row where it was a full size tile...which actually ended up being right at the threshold of the door!


Here it is post joint compound.


Of course my little helper. This project couldn't have been completed without him.


He is very good at keeping me on task. See the expressions of unhappiness and surprise. He already knows when I am doing something wrong :)
And finally the big reveal! I am going to post another one after this with a before and after at the same (or close to the same) shot. Sorry for the duplicate shots. The ones with the light on more accurately represent the wall color. The ones with the light off more accurately represent the vanity top color.
The vanity and mirror are Allen + Roth.
Toilet is American Standard Champion 4.


No comments:
Post a Comment